Whether you’re using Rhino for the modeling of a new construction project in the civil engineering industry or you’re looking to design your next award winning project in architecture, learning how to create 3D objects in Rhino is a big part of this process.
In this article, I will be going over the steps and tricks you can use to create 3D objects so you can bring your ideas to life. From learning how to create 3D objects from simple, 2D ones to learning about the basic commands that will give you the freedom to design what you want.
Don’t struggle with the software any longer and read on for our top tips at ArchitectureGenie to begin perfecting your skills. The reality is there are a variety of different ways in which you can make 3D objects below. Go through the list below and perhaps learn something new.
contents
Creating 3D objects from 2D objects
So, you have a 2D object and you’re wondering how to turn it into a 3D creation where you can see the depth and scale of the object in greater detail.
Let’s take a simple object like the one below that is a 2D drawing.
Create a surface
Next, you will need to create a surface from the curve that is on the Rhino canvas which can be done by clicking the curve and doing the command “PlanarSrf”. As you can see from looking at the object in the shaded view, there is a surface created and this is the first step in turning this object into a 3D one.
Extrude the surface
In this step, you need to make sure that the gumball commands are turned on by going to the bottom of the Rhino canvas below and selecting the tab that says gumball.
While, you can certainly use the “ExtrudeSrf” command and then use the “cap” command to seal an object, using the features of gumball is far easier as you can select the surface and then scale the object upwards using the ball that is on the arrow of the direction you want to extrude the surface in.

It is also possible to click on this ball (rather than drag it) to extrude the surface by a distance that is exact by inputting numbers into the box that appears.
Add details to your 3D object
As you can see from the extrude, the design was finished off with a “cap” common which sealed the surface. However, there is still a lot more you can do with this object including joining objects to it, adding in holes to the surface and adding surfaces based on other commands such as “loft” commands and “Pipe” commands which I get into below.
How to create holes in objects
Say for example if you wanted to add in a hole to the above object, the first step would be to create an object that represents this hole that intersects the object.
From there you can “split” or “trim” the shape to get the shape of the object you desire.
Create a cutting object
Below, there is a sphere that has been created by doing the “Sphere” command and then drawing the object accordingly.
Intersect the two objects
As you can see, the sphere and the object that was made previously are now intersecting. This means with the right commands in the next steps they will create a split.
To position the sphere, you can either drag the object using gumball or use the “Move” command which is able to snap an object to the exact location you want.
Execute a splitting command
Now, there are two options to choose from to create the split in Rhino and you can choose either one depending on what is easiest and the effect you are looking to create.
Using BooleanDifference
The first one is the “BooleanDifference” command which will leave the original object with a new surface where the original object was and delete the cutting object (the sphere) as seen below.
Using split
Alternatively, you can use the “Split” command which doesn’t delete the sphere but keeps it there and doesn’t form a new surface but this surface is separate to the original object and can be deleted. Hence the name, the split command provides no difference to the original object except where the surfaces intersected, there is now a cut.
How to merge objects together
When creating complex 3D objects, merging shapes together is another way in which to get the geometries you desire and allow your object to be as far away from the conventional shapes provided with Rhino. To merge shapes, you need to create shapes to add and then use the right commands.
Create objects to add
The first step in this process is to find a 3D shape that can be added to the original object. As you can see below, another sphere was drawn using the “Sphere” command.
Position the objects
Next, I positioned the sphere in a place where I was happy for it to be merged to the original object. I wanted the sphere to be protruding out of the top so there is a round shape to the top of the original 3D object.
Join the two objects
In order to join the top of the sphere and the original 3D shape, I need to get rid of the sphere that is protruding from the bottom of the shape first and then join the top of the sphere to the original object. This is done using two separate commands.
Use BooleanSplit
In order to split the objects, use the “BooleanSplit” command. It is important that you select the sphere first as the object to split and then select the larger 3D object after as the splitting object. Then press “Enter” when done.
This way, you can delete the lower half of the sphere and move onto the next step of the merging process.
Use BooleanUnion
In order to merge what is left of the sphere and the original object, simply type in “BooleanUnion” to the command bar, select both of the shapes and then press “Enter”. This completes the process of merging 3D shapes in Rhino.
How to create 3D surfaces from curves
Creating 3D objects doesn’t necessarily have to be only using surfaces and objects that are available to be drawn using the conventional Rhino tools. In order to get really creative, using lines is one of the best ways to create unique designs and come up with new ideas.
Pipe command
First up, there is the “Pipe” command which is where you are able to use a line to create a 3D pipe. The first thing you should do when trying to do this creates a line that will act as the centre of the pipe in the future.
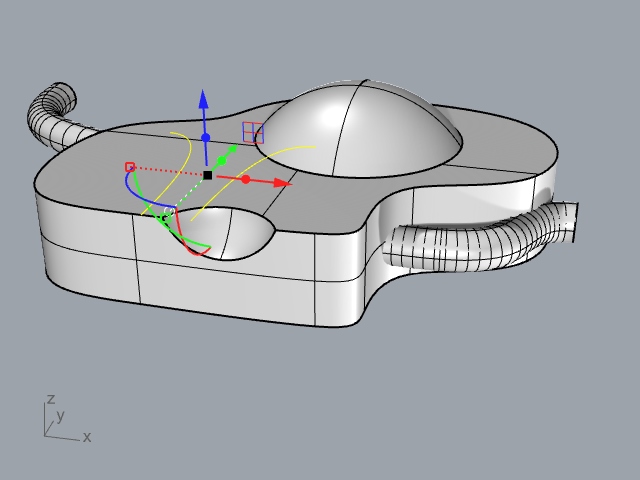
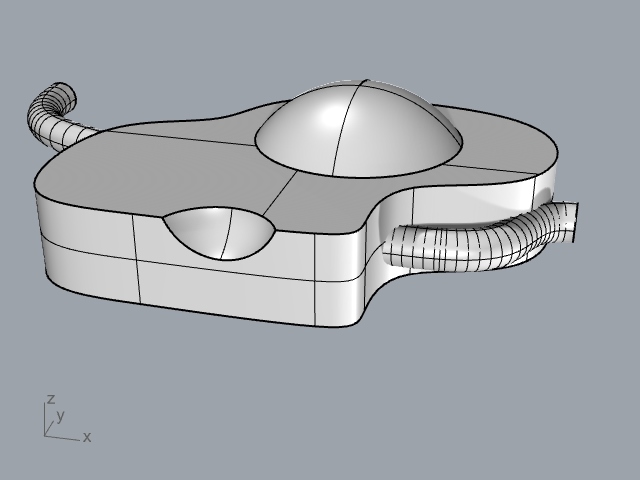
I created a line that goes through the object so when the pipe command is executed, the two objects intersect.
As mentioned above, it is as simple as doing the “Pipe” command to create the Pipe. Then, Rhino will prompt you to create a diameter for the start and end of the pipe. If you want the pipe to be uniform throughout its length, use the same diameter but you can get creative with this and have the pipe thicker on one end. However, below, I used the same diameter throughout.
Loft command
The “Loft” command is able to create a surface from two lines or a few lines together which is perfect for if you have a dimension that you need to measure out accurately with the line tool and then base a surface from this line.
Below, to begin the process, two lines were created that are identical by creating one line and then writing “Mirror” in the command bar which creates a surface on either side.

After using the “Loft” command, there are a series of settings that you can play around with. It is usually best to keep the type of loft as normal and if you find the surface is too rigid, (more apparent with served surfaces), you can add in more segments to the loft which makes the surface creation more accurate.
As you can see, a surface was formed in between the two lines created earlier which can be merged with the other surface if necessary or extruded to create another shape.
In conclusion
While this tutorial didn’t follow any clear steps in order to create a 3D object that makes sense, using the above commands to set you well on your way to creating the kind of designs you want in Rhino. Sometimes, it is not a matter of re-designing but actually learning how to use the software to create your designs in the best possible way.
On top of this, as you are able to use all of Rhino’s abilities, you may be able to come up with ideas on the spot as you go. Try to think of designing in Rhino as a way to plan and test ideas rather than create a final design.
In general, it is useful to note that you can create random points on a surface in grasshopper to create even more complicated shapes and patterns can also be created using Rhino too. This tutorial only goes over the basic commands in Rhino and as you develop your skills you may want to check out these methods.

